USB Audio
About USB Audio
The miniDSP Flex HT accepts multichannel (8-channel) PCM audio over USB at sample rates up to 96 kHz. The same USB connector is used for playing USB Audio as well as for configuration and Dirac Live calibration.
To play USB Audio from a computer, use the supplied cable to connect the USB 2.0 (Type B) port of the Flex HT to a free USB port on your computer.
Alternatively, connect a network streamer to the USB port. For examples using the Raspberry Pi, see these application notes on our website:
Note
While some miniDSP processors provide the processed outputs to the computer over USB, the Flex HT does not.
USB Audio channel mapping
The channel mapping of USB Audio differs from HDMI. They are shown in the table below:
| Channel | HDMI Audio | USB Audio |
|---|---|---|
| 1 | Left Front | Left Front |
| 2 | Right Front. | Right Front |
| 3 | LFE | Center |
| 4 | Center | LFE |
| 5 | Left Surround | Left Back |
| 6 | Right Surround | Right Back |
| 7 | Left Back | Left Surround |
| 8 | Right Back | Right Surround |
In the Flex HT, we have chosen to use the HDMI channel mapping as the default. Some additional configuration may be required for USB Audio:
-
macOS. The channel mapping can be changed directly in macOS. See macOS channel mapping below. Alternately, the configuration described in Configuration for USB Audio below can be used.
-
Windows. The channel mapping can not be changed in Windows. Use the configuration described in Configuration for USB Audio below.
macOS
The miniDSP Flex HT is USB Audio compliant, so no drivers need to be installed to play audio on macOS. Open Audio MIDI Setup (in Applications->Utilities) and click on its name in the list on the left-hand side.

Set sample rate
Click on the selector next to Format to bring up the sample rate and bit depth selector. Sample rates up to 96 kHz can be selected:

Default audio device
To set the Flex HT as the default audio output device, right-click and select "Use this device for sound output":

Note that individual audio playback apps may allow the Flex HT to be selected for audio output independently of the system default. They may also control sample rate automatically.
macOS channel mapping
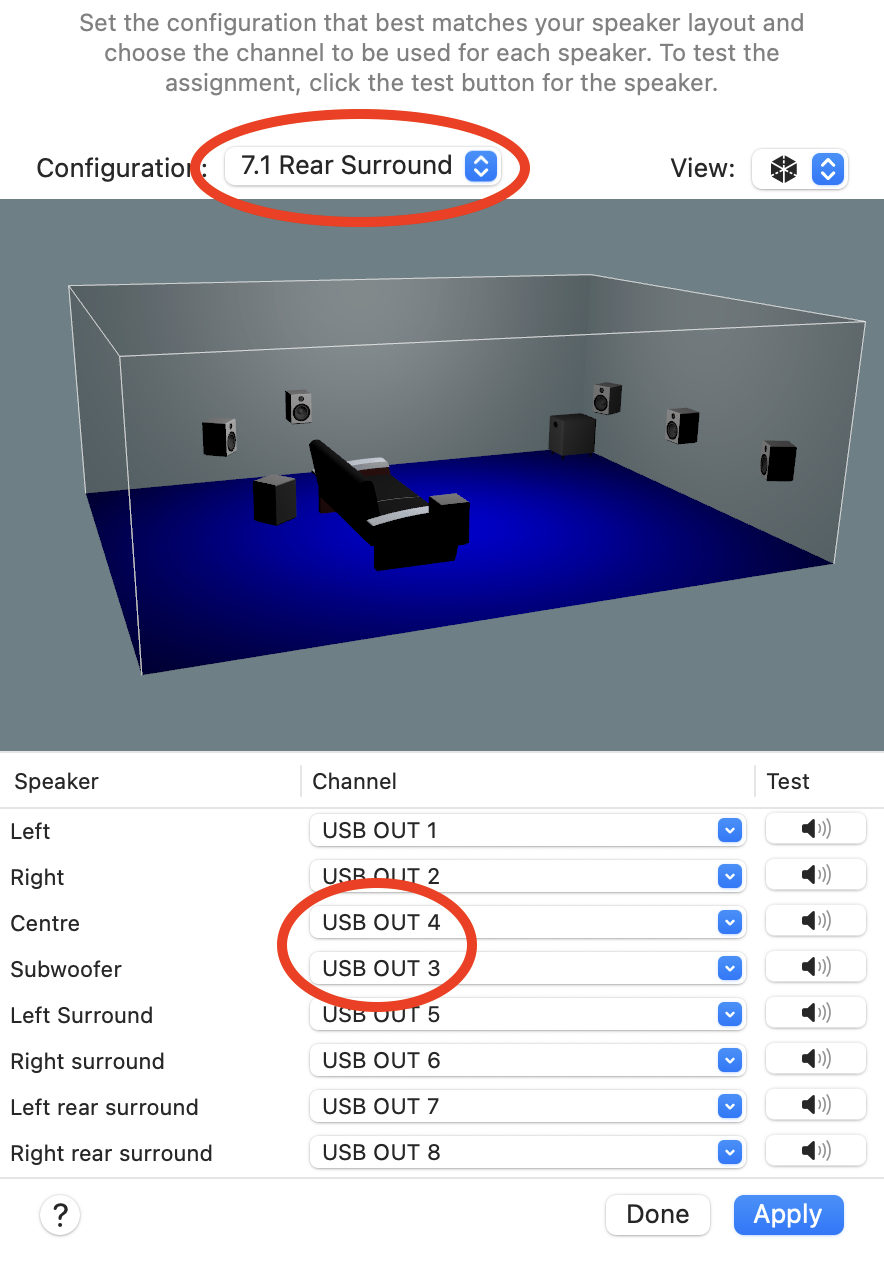
To change the channel mapping to match HDMI, click on the Configure Speakers... button. On the dialog that pops up:
- Select "7.1 Rear Surround" from the drop-down selector near the top.
- Swap the channel assignment for Center and Subwoofer.
This is highlighted in the screenshot below.
Windows 11
Note: to play USB audio from Windows, the miniDSP UAC2 driver package must be installed first.
Default audio device
To set the miniDSP Flex HT as the default audio output device, open the Settings app and navigate to the System → Sound page. Select the Flex HT with the radio button:

Set sample rate
To change the bit depth and sample rate, click on the rightward angle symbol >. Click the selector next to Format to pop up the sample rate menu. Sample rates up to 96 kHz can be selected:

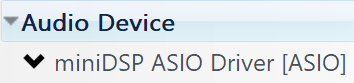
ASIO
If your audio application supports ASIO® audio drivers, we recommend selecting the miniDSP ASIO Driver in its settings. This typically allows the application to automatically change sample rate. For example, in JRiver Media Center:
miniDSP UAC2 control panel
The current settings of the miniDSP Flex HT can be viewed by opening the miniDSP UAC2 Control Panel from the Windows Start menu (under the miniDSP Ltd folder). This control panel allows you to view current settings. In addition, it can be used to set buffer size, although we recommend that you leave this setting at the default. If you are having an issue with inadequate output volume over USB playback, check the Volume tab.

To see the installed version of the UAC2 driver, use the About tab:

Configuration for USB Audio
The difference in channel mapping for USB Audio and HDMI can be confusing. However, it is not too difficult to adapt by using some changes in labeling and channel routing. There are two steps:
-
Change the input channel labels on the Input Channels tab, as shown in this screenshot:

-
Change the routing on the Channel routing tab as shown in this screenshot:

With this done, the output channel labelling and Mixer tab examples in the rest of this manual are correct.
Tip
If you use both the HDMI and USB inputs for multichannel audio, create a separate preset for each. When switching inputs, switch presets as well.