Getting started with network audio
Overview
The miniDSP SHD Series processors incorporate a custom version of the popular network audio endpoint Volumio, running on its own ARM CPU inside the SHD Series processor chassis. Volumio has a wealth of functions for controlling and delivering network audio.
Please note however that since Volumio and the other software mentioned in this chapter is third-party software, miniDSP support for this software is limited.
Info
While the miniDSP SHD Studio contains an ARM processor running Linux for network streaming, miniDSP does not support any additional software installation or custom Linux builds on this processor.
Info
This manual describes Volumio 3, the current version. If you have been using the miniDSP SHD Studio with Volumio 2 (prior to November 2023), you will be able to upgrade to Volumio 3 using the over-the-air update.
Notice: Volumio 3 is a major OS update, so we have to perform a clean install to guarantee 100% safe operation. This means that you will lose all your Volumio settings, configuration, and playlists. (Music files will not be deleted. DSP configurations and Dirac Live filters will also not be affected.) Be sure to write down any settings that you will need BEFORE you start the update. When the update completes, you will have a "fresh" system that you will then need to configure.
For more information, see the page Updating Volumio.
Ethernet connection
Connect an Ethernet cable from your home network router to the Ethernet port on the rear panel of the SHD Studio. This is a typical example:

A short Ethernet cable is provided with the unit. If a longer cable is required, these are readily available from computer stores and online. The recommended maximum length of Ethernet cables is 100 meters (330 feet).
Note that your router must be set to allow dynamic IP addresses i.e. DHCP. Most routers will have this function enabled by default.
Wi-Fi connection
Insert the provided Wi-Fi adapter (aka "dongle") into the USB Host port on the back of the SHD Studio.

To connect Volumio to your wireless network, you will need to access its interface first. You can do this either with an Ethernet cable as a temporary connection, or by using Volumio's inbuilt hotspot.
Connecting to the hotspot
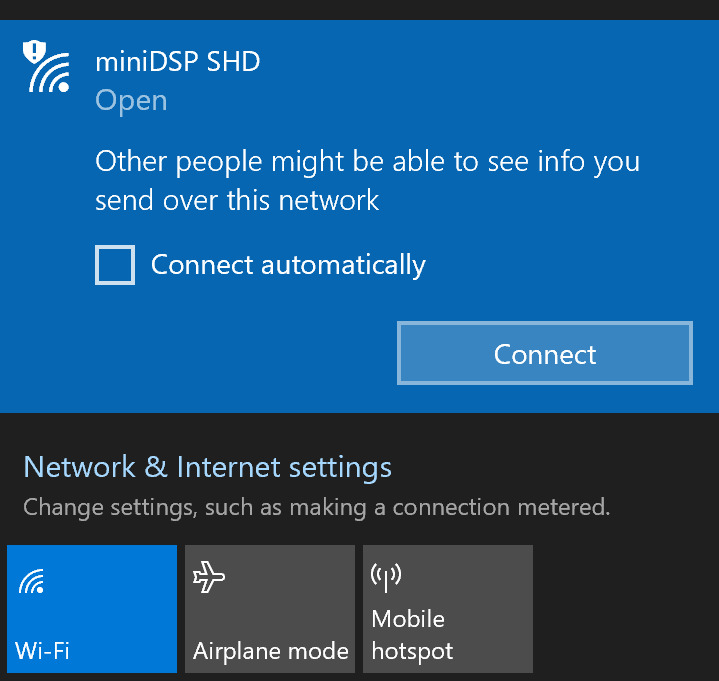
If the SHD Studio has a Wi-fi dongle plugged in and is unable to connect to a wireless network, it will start up its own hotspot. You can use this to access the Volumio interface in order to set up connection to your regular Wi-fi network.
To begin, use your computer's network manager to search for a wireless hotspot named Volumio xyz. ("xyz" is a random seclection of letters and numbers.) Select this hotspot and connect to it. No password is needed.
When the hotspot connects, the Volumio interface will automatically open at the setup wizard (see below for more details). We recommend that you now enable the hotspot password on the Network settings screen:
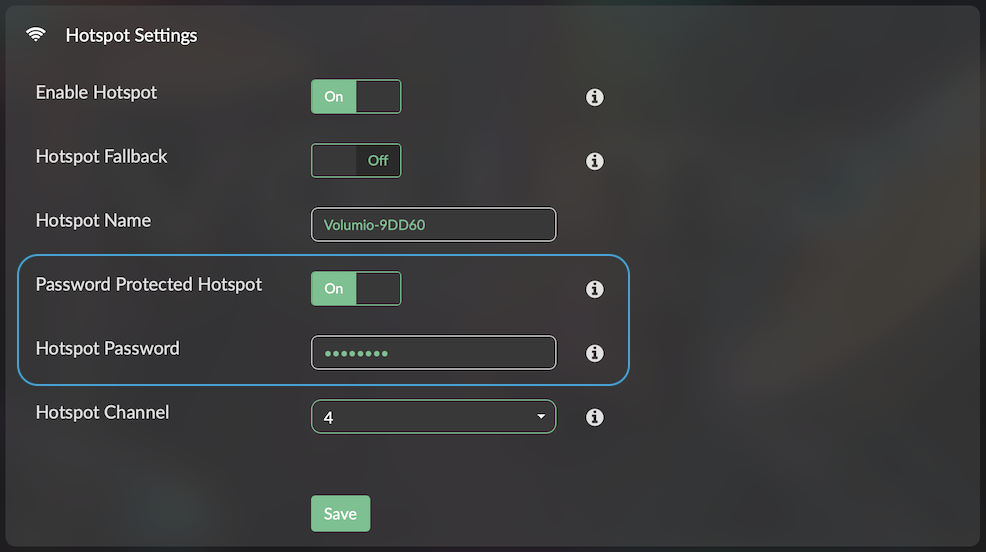
While you can access the Volumio interface through the hotspot, it is really intended for temporary use. See the next section to connect Volumio to your normal wireless network.
Connecting to a wireless network
Go to the Main menu, select Network and scroll down to the Wireless Network Connection section. Locate your network in the list and click on it. Enter your Wi-Fi network's password and click Connect:
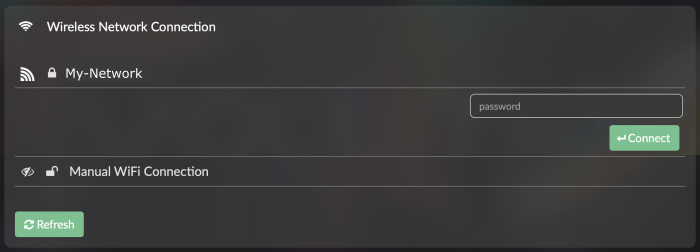
If you have a hidden network, use the Manual WiFi Connection option.
After clicking on Connect, the miniDSP SHD Studio will close the hotspot. It is now joined to your wireless network. Disconnect your computer from the Volumio hotspot and reconnect it to your wireless network. Follow the procedure below to open the Volumio web interface.
Tip
Once you are reconnected to Volumio through your regular Wi-fi network, we strongly recommend using the Network settings to add a password to the hotspot. This will ensure that your miniDSP SHD Studio does not broadcast an open hotspot if it is unable to connect to your Wi-Fi network for some reason in the future. Alternatively, you can disable the hotspot completely.
Connecting to the Volumio web interface
To open the Volumio web interface, click on one of the following:
Depending on your network setup, one may work while the other will not. If neither works, you will need to connect to the web interface by IP address. In that case, see Finding the IP address.
When you connect to the interface for the first time, you will enter a simple setup wizard.
The Volumio setup wizard
On first connection, Volumio will step through a few simple setup screens. You can repeat the setup wizard at any later time by navigating to the System settings and clicking on "Run First Config Wizard."
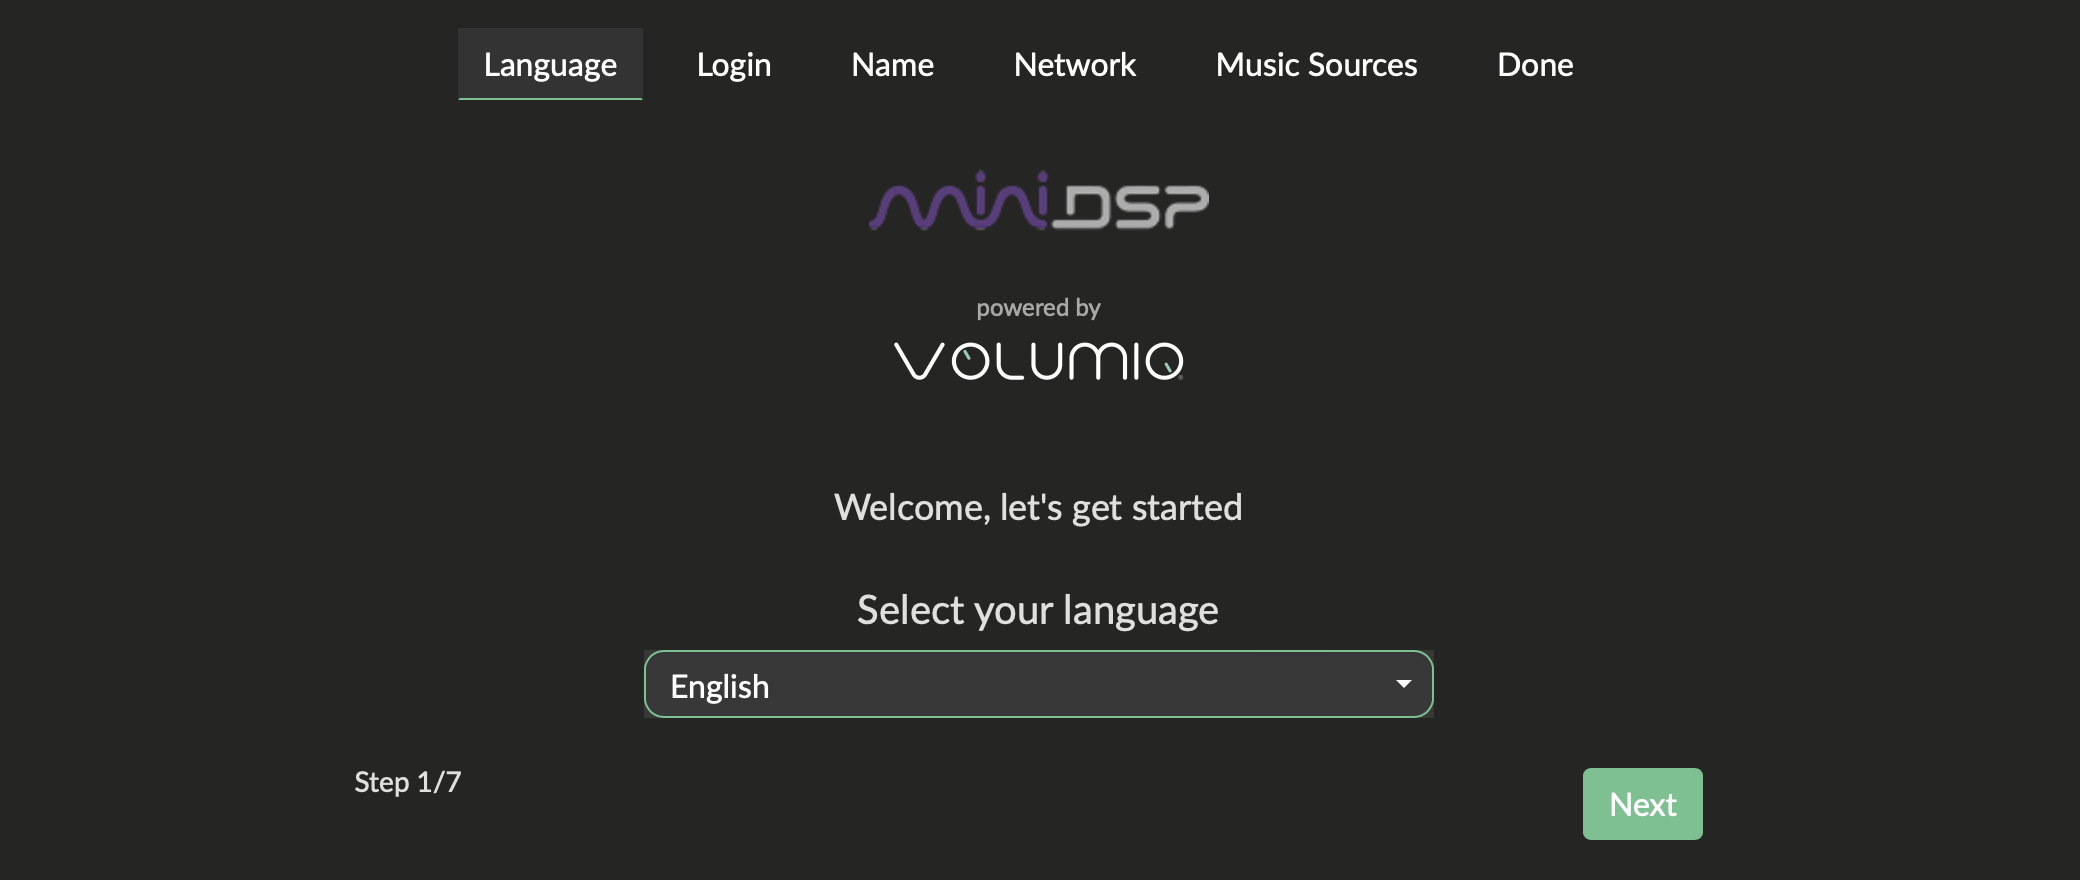
Language
This should be self-explanatory.
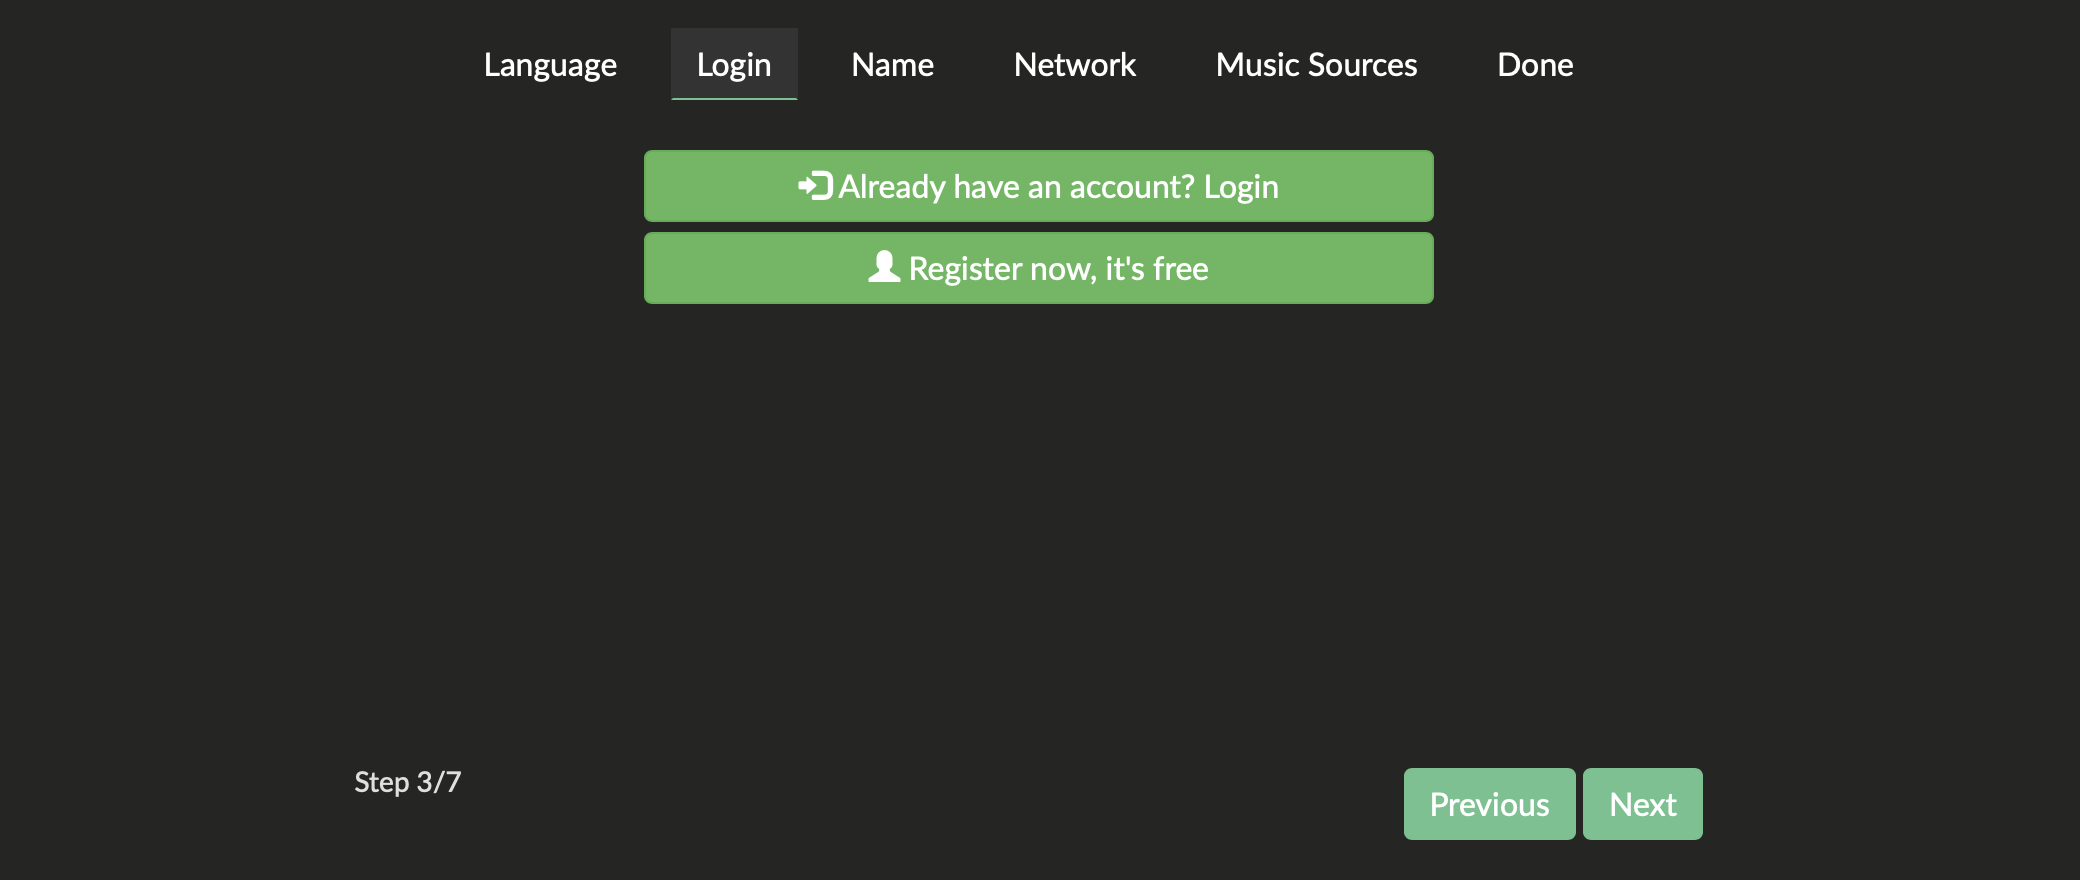
Login
This screen asks you to log in or to create a free Volumio account so you get access to all Volumio Premium features free of charge. Simply click on the "Register Now, It's free" button.
Name
This screen sets the name of your device. By default, it will be acessible on the network as "minidsp-shd" or "minidsp-shd.local".
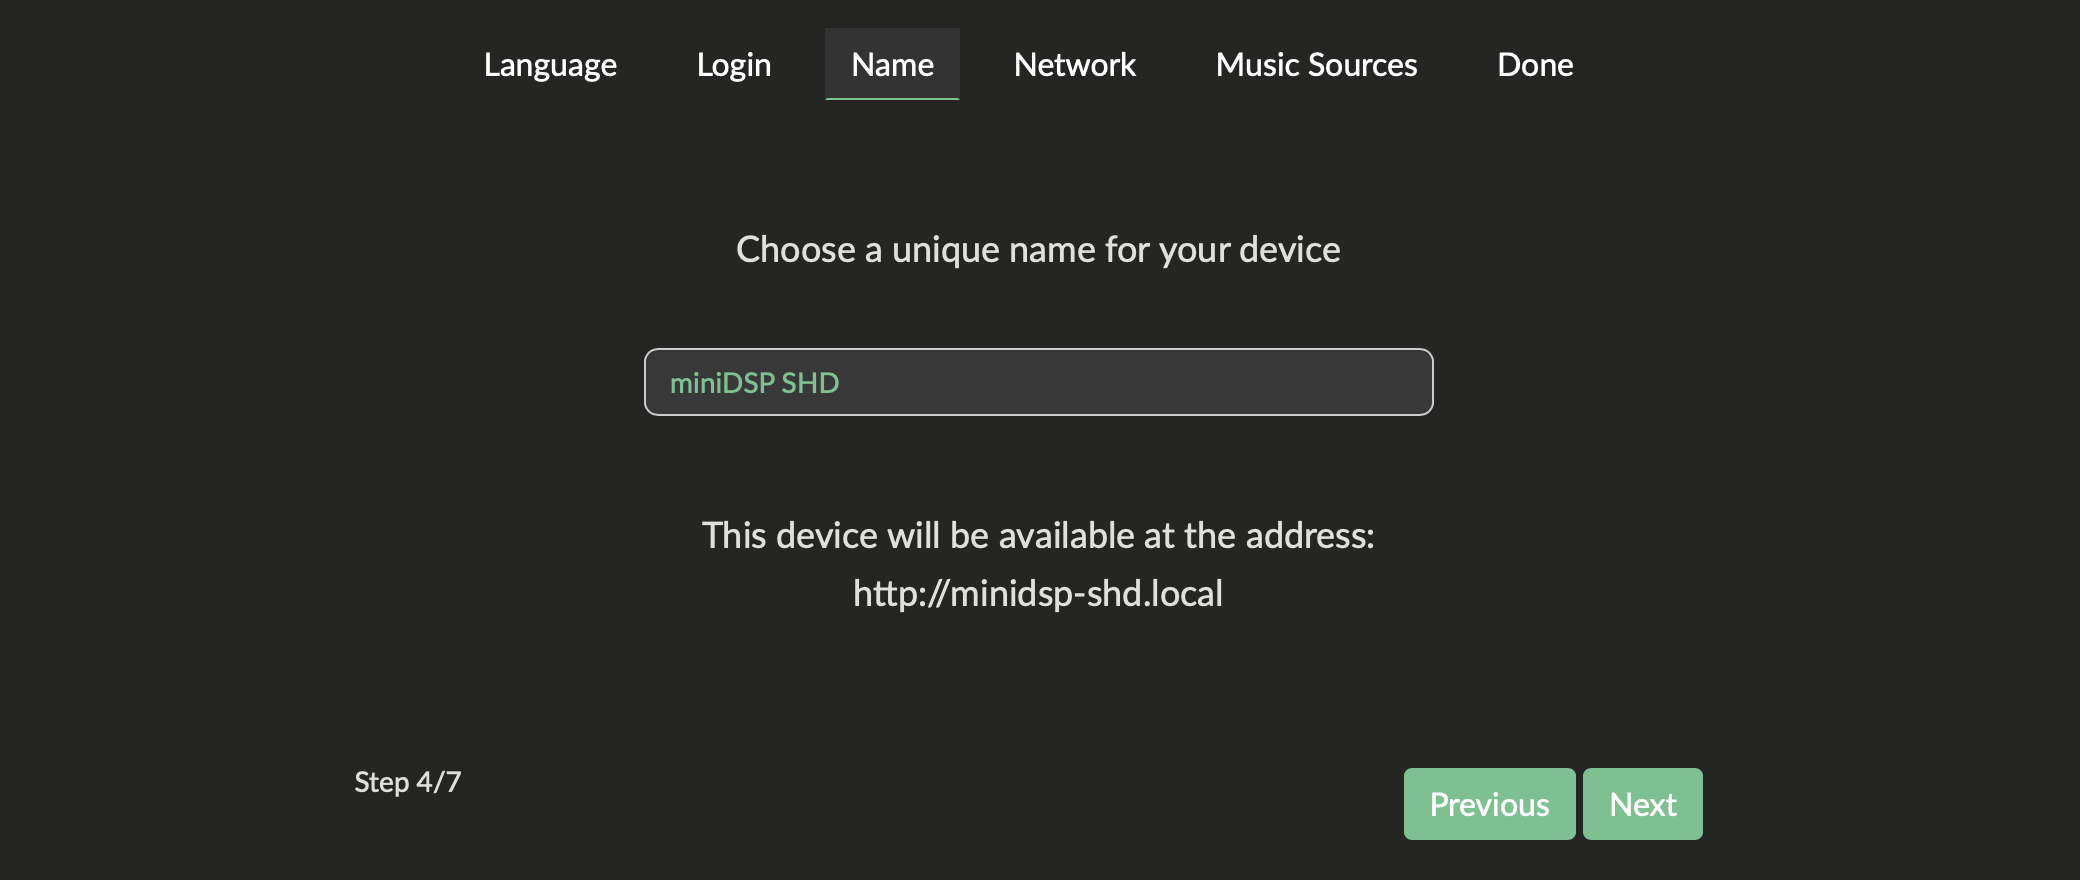
If you have more than one SHD Series processor on your network, you should change its name now. After completing the wizard, you will need to restart the SHD Studio and access the web interface again through its new address as shown on the screen below the name you enter.
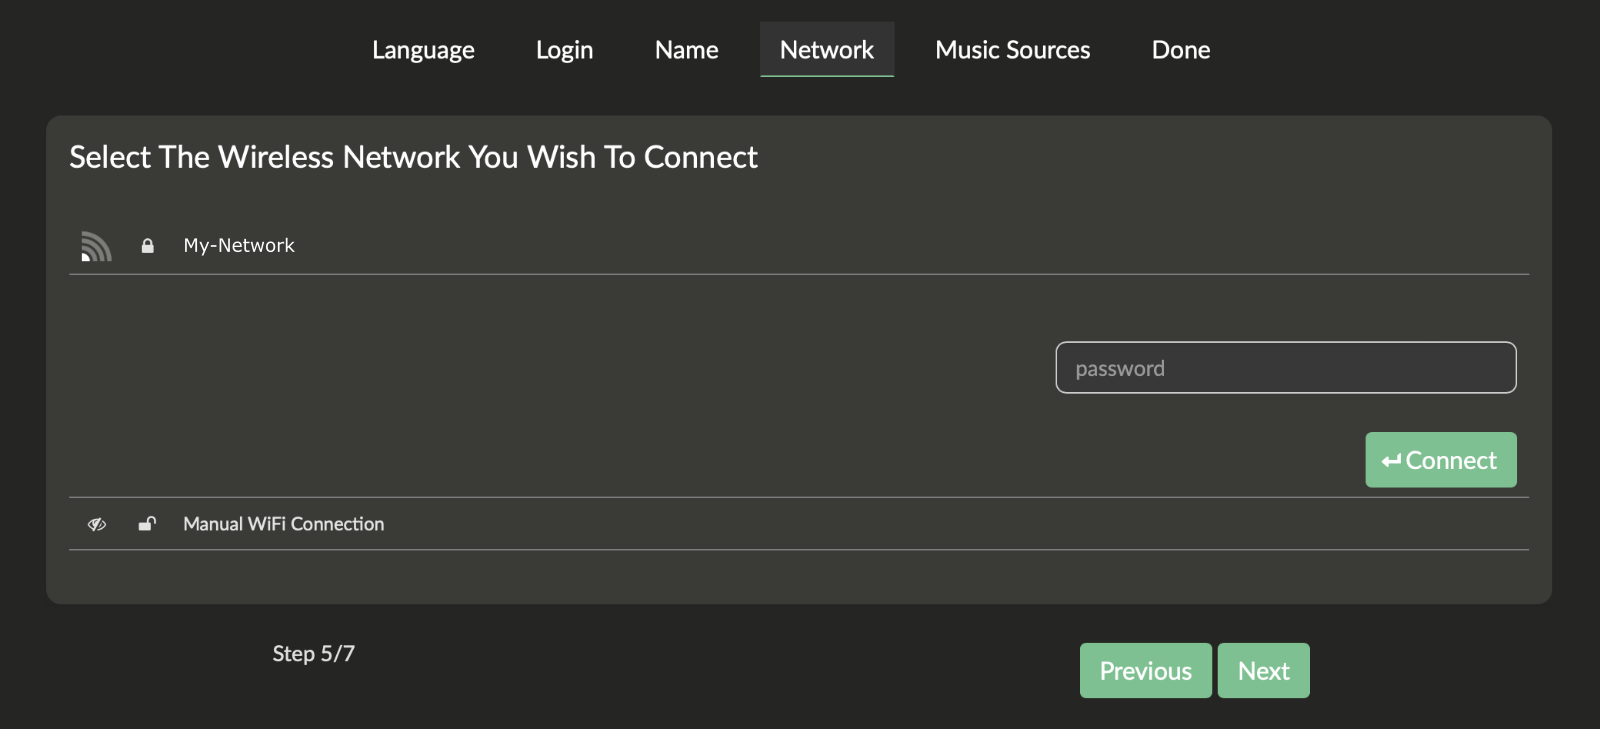
Network
This screen appears only if you have a Wi-fi dongle inserted into the SHD Studio. Use it to connect to your regular Wi-fi network: select your network, enter its password, and click Connect.
If you have a hidden network, use the Manual WiFi Connection option.
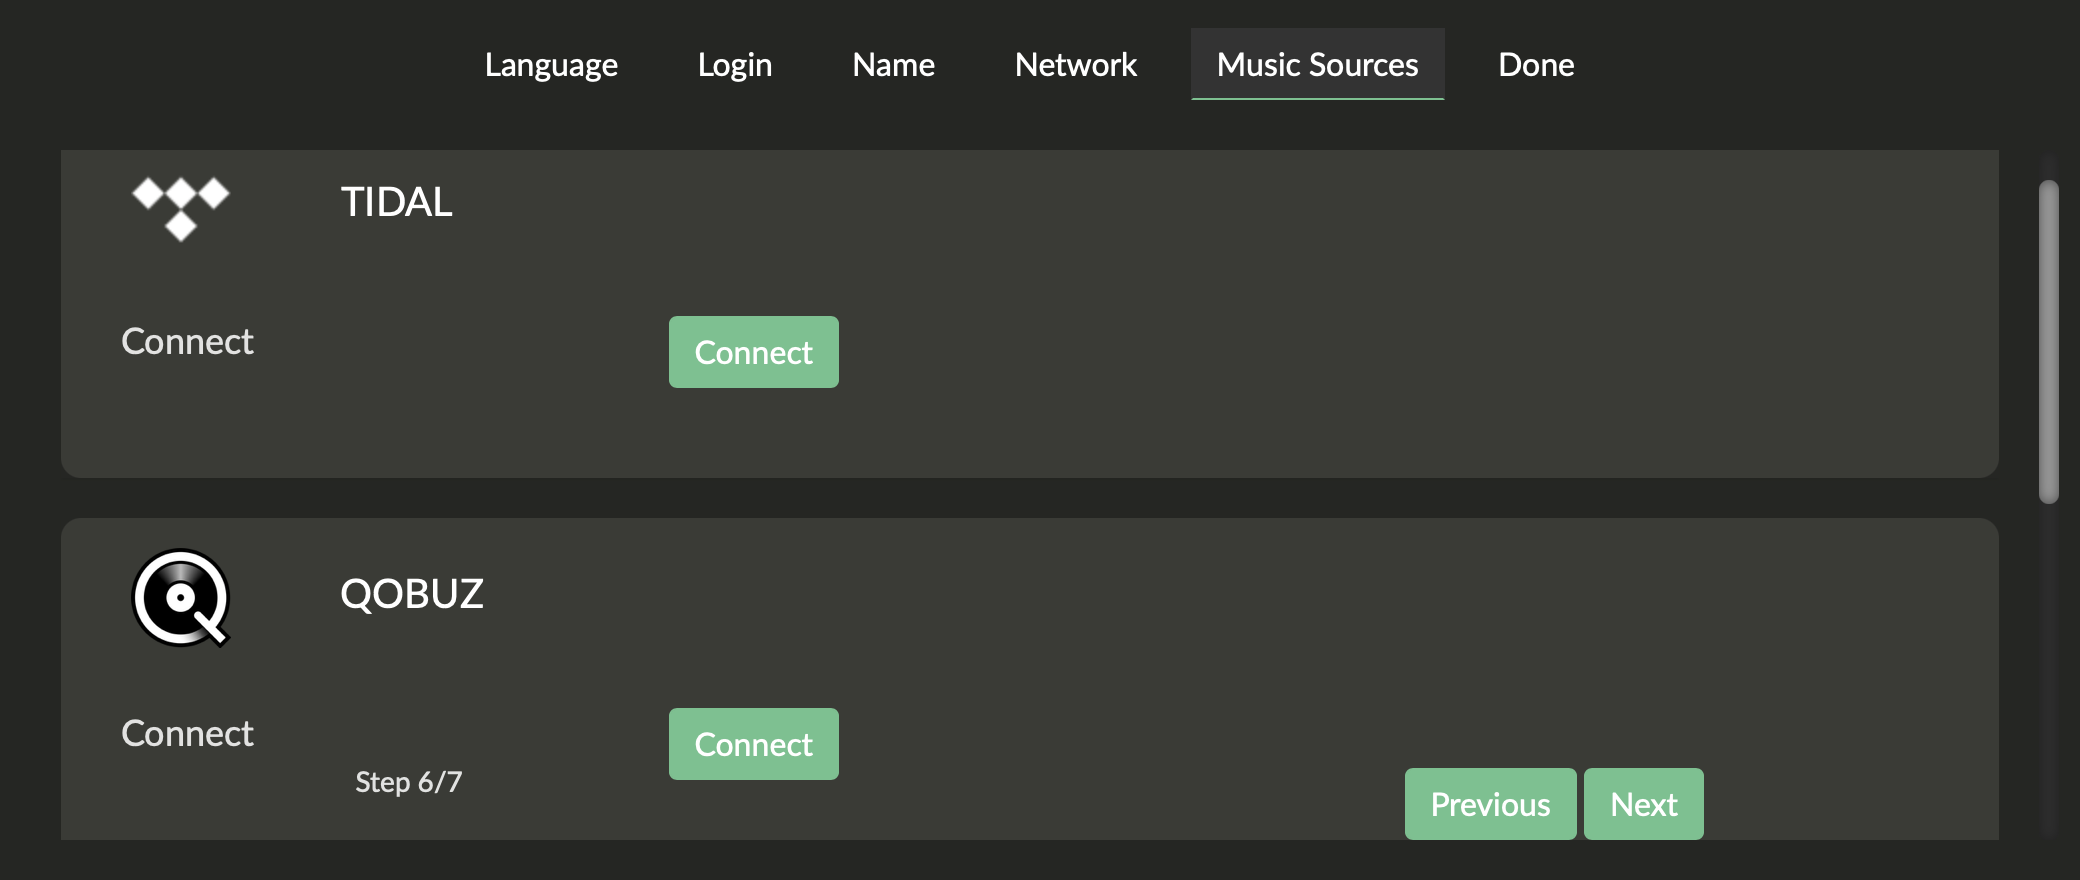
Music Sources
Use this screen to log into your Qobuz, TIDAL or HighresAudio account. You can also do this later from the My Music settings page.
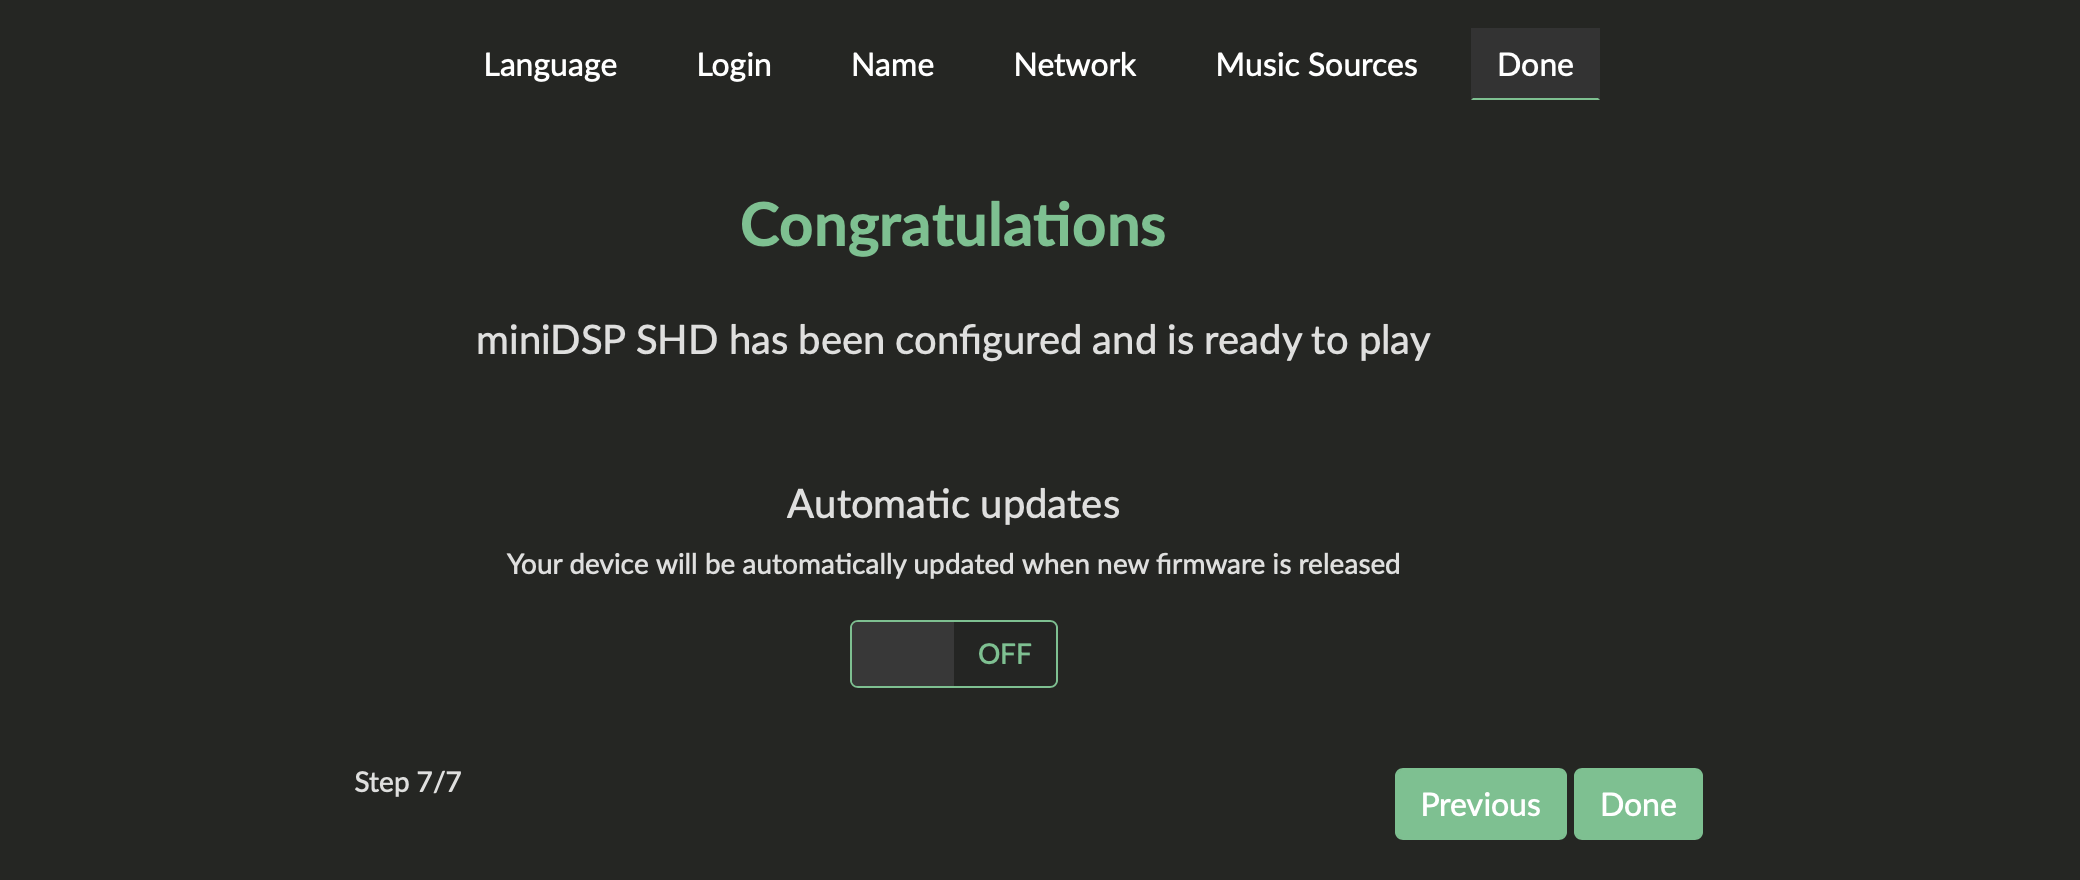
Done
Enable automatic Volumio updates here if you wish, then click Done. Note that the updates apply only to the Volumio software, they do not apply to the Device Console or the SHD Studio firmware.
If you do not enable automatic updates, you can update manually by going to the System settings and clicking Check Updates.