Take your measurements
Measurements are performed on the Measure tab.

The left side of the window displays a visual guide to the measurement positions. The position that will be measured is shown in white. To display the name of a position, hover the mouse over it -- the position will be highlighted in blue and its name displayed. For example:
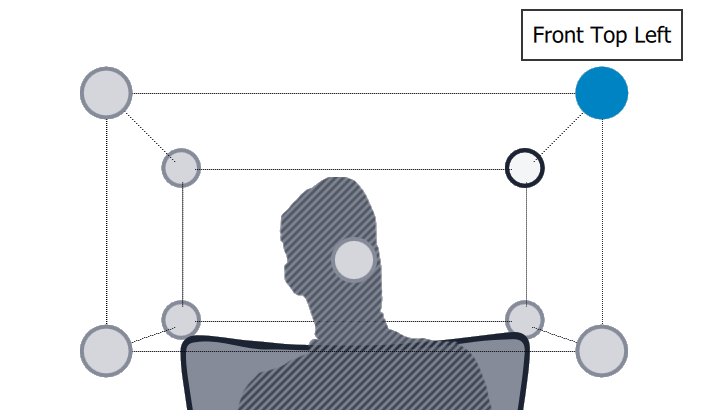
While the visual guide indicates a suitable set of microphone positions, these can be varied to suit individual circumstances. It is, however, important that the first measurement, named "Main Position." is taken in the center of the listening area, as this measurement is used to set the level and delay of each channel.
Run the first measurement
Prior to running the first measurement, you can optionally set a short delay before the measurement starts. To do so, click on the small clock icon on the right side of the Measure selected position button and choose the delay:

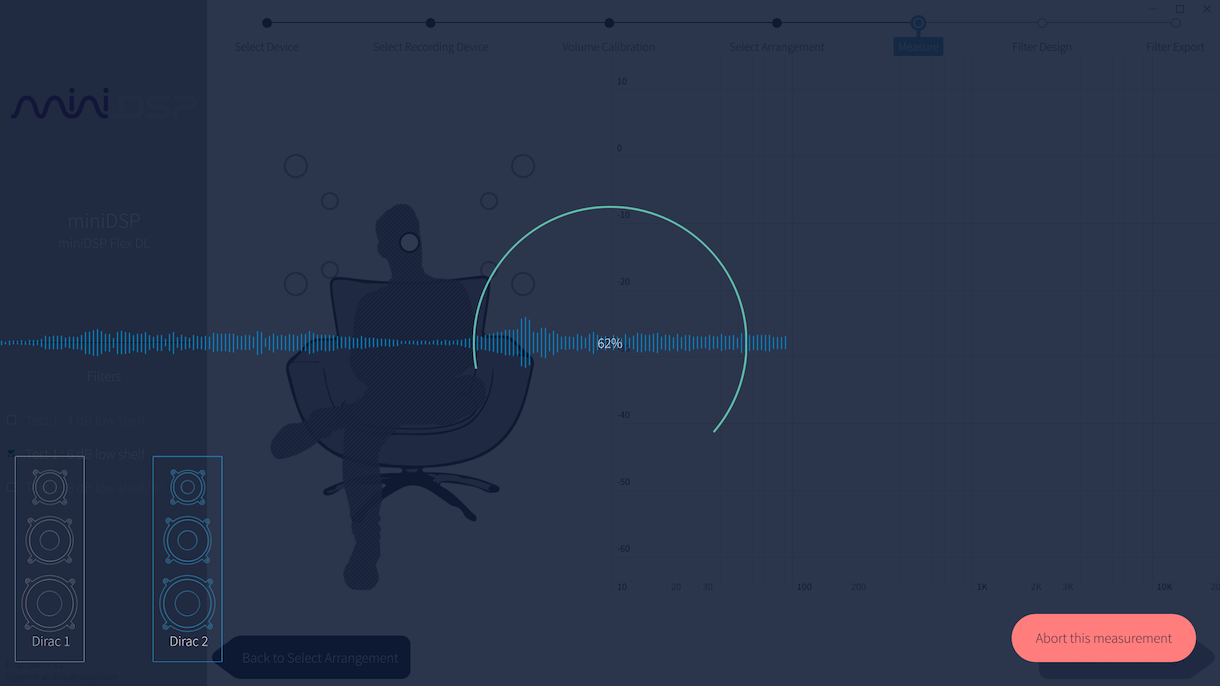
With the microphone in the center of the listening area, click on Measure selected position. The miniDSP Flex (DL) will generate a test signal, audible as a frequency sweep through the left speaker, then the right, then through the left again.
Warning
If your speaker sounds distorted or strained during the measurement, click Abort this measurement immediately. Go back to the Volume Calibration screen and lower the output volume.
While the measurement proceeds, a time-domain graph of the captured audio signal is overlaid on the screen. This graph is related to the magnitude response but is not the same display. Its purpose is to verify that the recorded signal level is in a suitable range.
On completion of a successful measurement, the window will update with a graph of the measured frequency response:
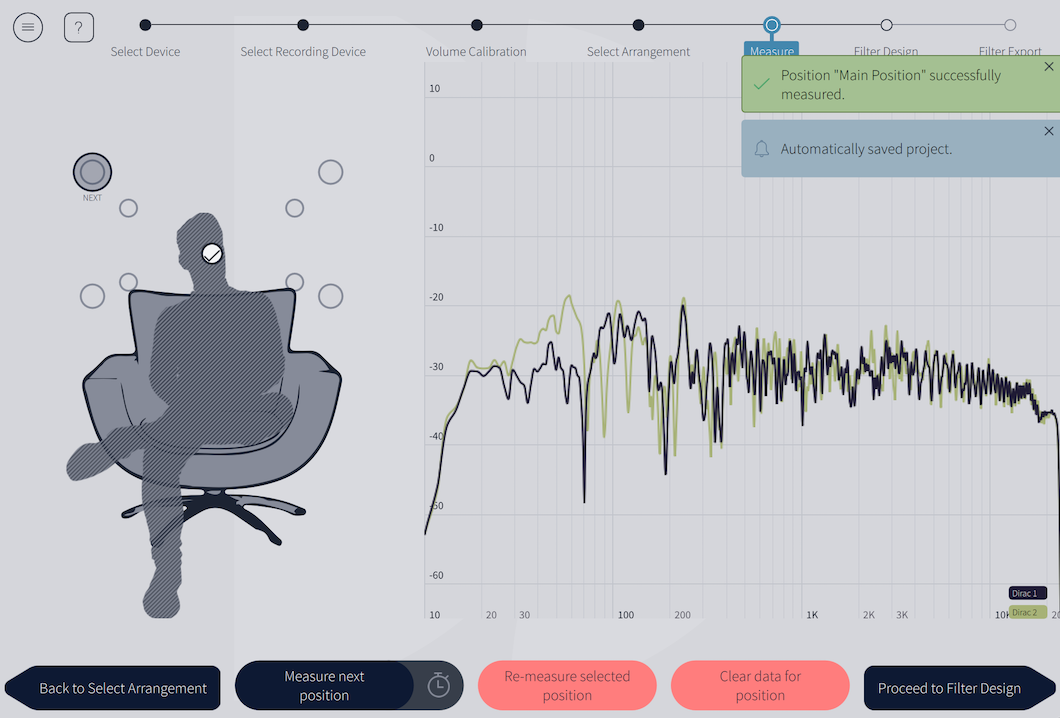
If the measurement is successful, a check mark will be shown on the visual guide and the next measurement position will be highlighted.
If the application indicates that the measurement was not successful, you will need to take corrective action. The most common errors are related to signal level:
-
The measurement signal is too low to ensure a clean capture.
-
The measurement signal is too high and the audio signal has exceeded the maximum level (clipping). This is shown in red on the time domain display.
In either of the above cases, go back to the Volume Calibration tab and adjust Master output or Mic gain. Then re-run the measurement.
Completing the measurements
To take the next measurement, move the microphone to the highlighted location -- labeled "Next" on the seating visual -- then click on Measure next position.
If the measurement produces an error that the signal was too low or high, go back to the Volume Calibration tab and adjust Master output or Mic gain. Return to the Measure tab and then click on Remeasure selected position. You do not need to redo measurements that you have already successfully completed.
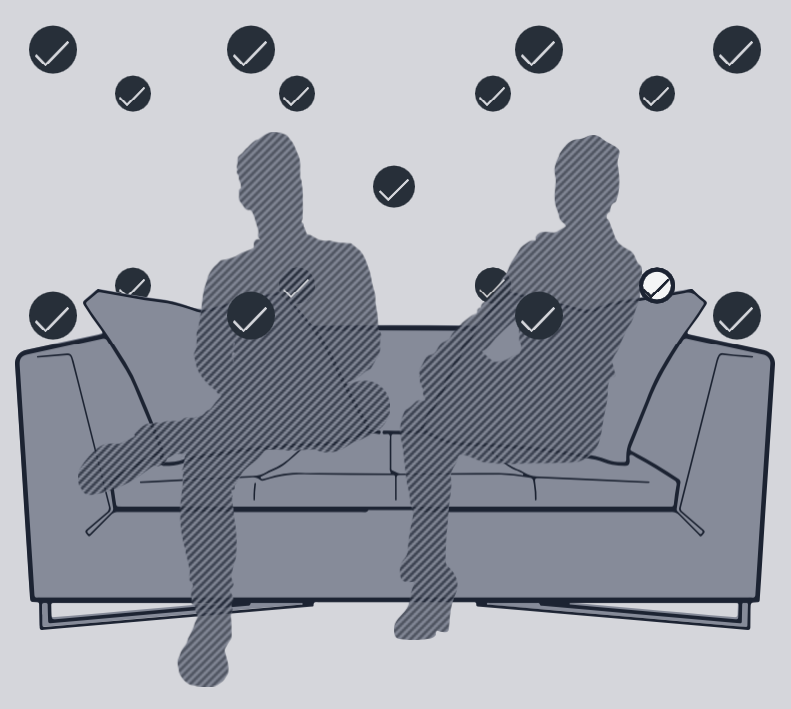
Repeat until all positions have a successful measurement:
Tip
The measurement positions should be well spread out over the entire listening area so that Dirac Live can acquire a good set of measurements that capture the acoustic behavior of the room. Typically, you should spread the microphone positions over a circle with a diameter of at least a meter (three feet) and vary the microphone height from the central position by at least 30 cm (one foot) up and down. Placing all measurement positions too close to each other may result in "over-correction" that will sound dry and dull.
A different set of measurement positions other than those indicated by the visual guide and the above guidelines can be used if necessary. For example, if the displayed measurement position doesn't provide acoustic "line of sight" from the speaker to the microphone, then adjust the measurement position so that it does. The important thing is to ensure that the measurement positions are spread out over the whole listening area and that the microphone is moved a sufficient distance vertically as well as horizontally.
In some cases, such as when the listening area is very close to the loudspeakers or the loudspeakers have a very narrow dispersion pattern, the size and in particular the height of the measurement area can be reduced, to avoid discrepancies caused by varying output response from the speakers themselves.
Viewing and redoing measurements
Click on any completed measurement position to select it and display its measured response.
After selecting a completed measurement, the two buttons at the bottom of the screen can be used to re-take the measurement or to delete it:

Once you have completed all measurements, click on the Proceed to Filter Design button.